10 Bike Maintenance Activities To Do This Week
Fettle | Thursday 4th June 2026 11:49am
Whether you’re a daily commuter, a recent e-bike convert, or a keen off-road rider, you’ll know all too well that bikes perform best when given regular care.
You may also know that you don't need a professional workshop to keep a ride in top shape. In fact, many of the most important maintenance tasks can be completed at home in under ten minutes. Regular bike maintenance not only makes your bike feel nicer to ride, it’s also the key to preventing expensive repair bills later down the line.
Here’s a practical, beginner-friendly list of 10 road and mountain bike maintenance quick wins to tackle this week.
A quick bike maintenance checklist
- The "M-Check" safety sweep
- A gentle drop test to check for loose components
- Checking tyre pressures
- Drivetrain lubrication & cleaning
- Brake pad health check
- Cleaning your bike’s disc rotors or rims
- Gear maintenance: silence any clicking sounds
- The seat post "anti-seize" trick
- Cleaning tyres & remove debris
- Frame inspection & wash
1. The "M-Check" safety sweep
The “M-Check” is always the first place to start when giving your bike a once-over. Following the “M” shape of your bike’s frame, this series of quick inspections helps you cover every inch of your bike.
Rear wheel - Seat - Cranks - Handlebars - Front wheel
Here’s exactly what to look for at each juncture of the “M” of your bike:
- Rear wheel: Check the rear wheel is fitted securely and that the quick release lever is closed if you have one. Also check the spokes have equal tension and aren’t loose.
- Saddle: Make sure your seat isn’t loose and doesn’t tilt or wiggle.
- Pedals & cranks: Give the pedals a spin and check that the crank arms aren't loose.
- Handlebars: Ensure the stem bolts are secure and there is no "play" or rattling in the headset.
- Front wheel: As with the front wheel, check it is fitted securely and that the quick-release lever or through-axle is tight.
Note: As the first thing on our list of maintenance activities, think of an “M-Check” as a quick scan to identify any glaring issues with your bike, with more detailed inspections for each component to come.
2. A gentle drop test to check for loose components
After you’ve carried out the visual “M-Check”, it’s time for a more hands-on check in the form of a drop test.
Over time, the natural vibration from cycling on uneven surfaces can cause components on your bike to loosen. To check for any loose parts, lift your bike about 2 inches off the ground and carefully drop it onto its tyres. Don’t worry, this won’t harm your bike - it should bounce. As you do this:
- Listen: Do you hear a sharp “ting” or a dull, metallic rattle?
- Locate: Common culprits are loose bottle cage bolts, rattling mudguards, or even a loose light bracket.
In order to find the right component, you might need to repeat the drop a couple of times.
3. Checking tyre pressures
One of the most impactful bike maintenance activities to improve ride quality is to pump up the tyres.
- For road bike maintenance, correct pressure (PSI) reduces rolling resistance, making you faster and more efficient.
- For electric bike maintenance, it’s even more critical. Heavier e-bikes put more stress on tyres; keeping them at the recommended pressure (found on the tyre sidewall) prevents "pinch punctures" and can significantly extend battery range by reducing friction between the rubber and the road.
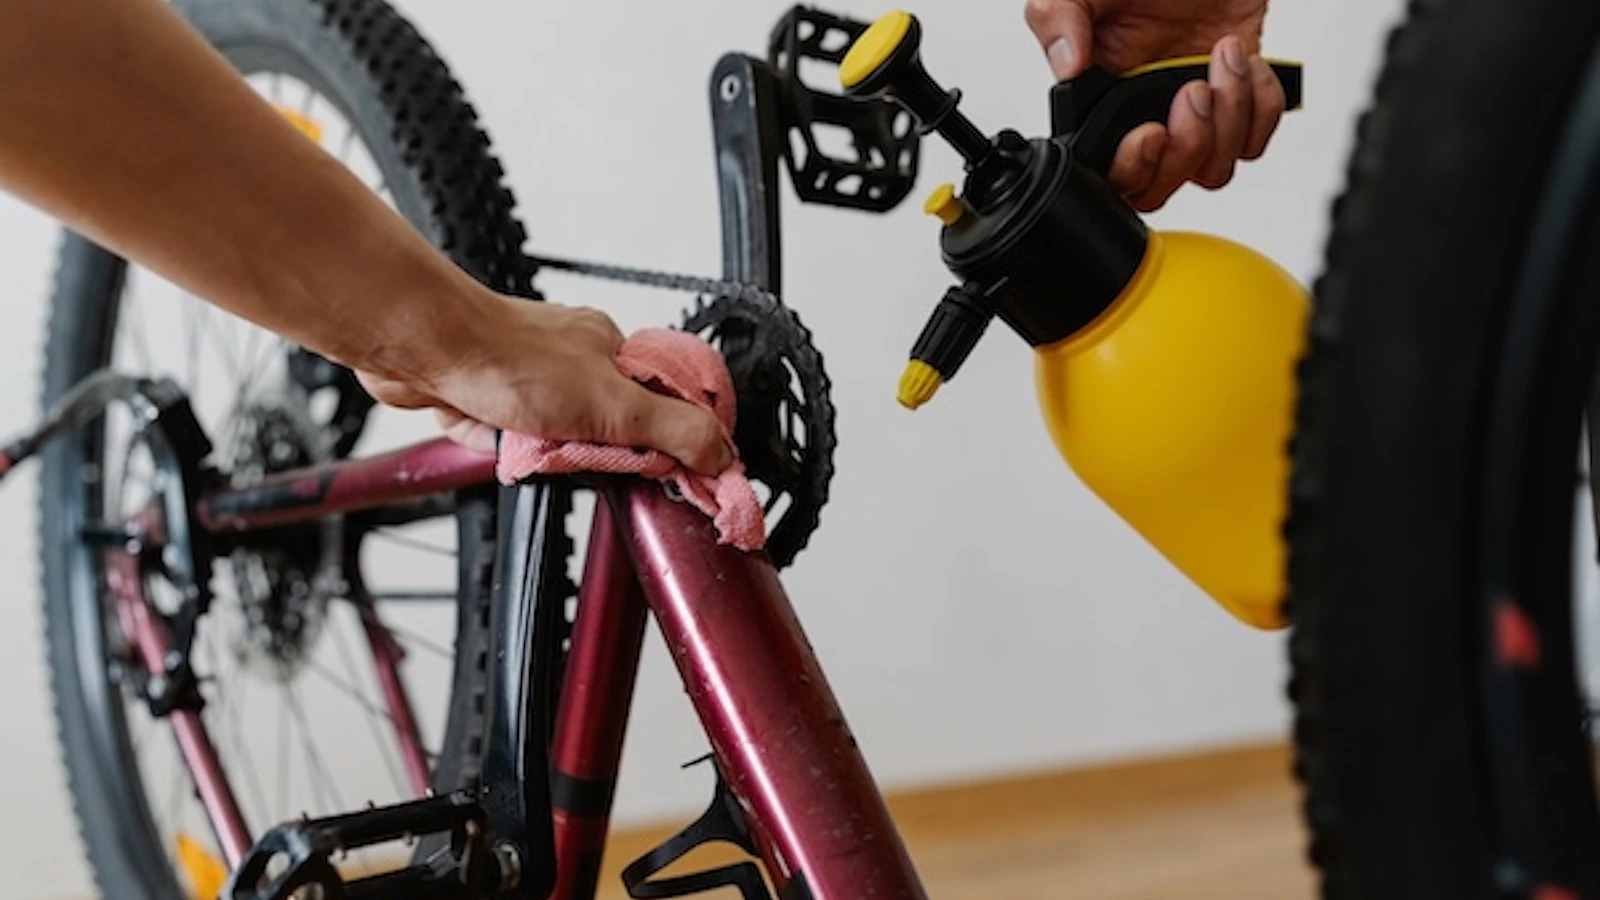
4. Drivetrain lubrication & cleaning
A lot of times “bike maintenance” is just code for cleaning and tyre TLC. And we’re afraid this is one of those times.
A dirty chain acts like sandpaper, grinding down expensive gears. So, cleaning your drivetrain area and lubricating your chain is very helpful for reducing friction and keeping your bike running smoothly.
- Clean: Use a rag and biodegradable degreaser to wipe away any black "gunk" that might have built up around the chain and cassette.
- Lubricate: Apply a single drop of lubricant to the inside of the chain links.
- Wipe: This is the part most people miss. After the lubricant has been left to sit for a few minutes, use a clean rag to wipe off any excess. You want the lubricant inside the rollers, not on the outside, where it will just attract more road grit.
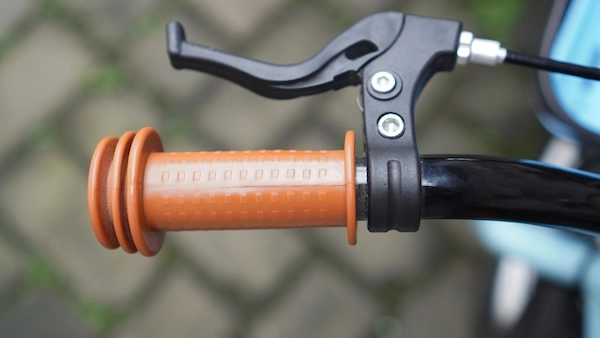
5. Brake health check
Naturally, brakes are the most safety-critical component on any bike, so they firmly belong on this list. There are three simple checks you can do in a couple of minutes to make sure your brakes are functioning safely:
- Brake lever check. Squeeze your brake levers hard (these are the brake “handles” up by your handlebars). They should feel firm and stop well before they touch the handlebar. If the lever feels "spongy" (on hydraulic brakes) or pulls all the way to the grip (on cable brakes), your brakes need attention.
- Visual brake pad check: For rim brakes, check that the rubber pads have deep grooves; if they are smooth, they are worn out. For disc brakes, look into the caliper; you should see at least 1mm of "pad meat" (the thickness of a fingernail) on the metal backing.
- Cable inspection: If your bike uses cables, check for fraying near the clamps or rust along the housing. A frayed cable is a snapping risk, and should be replaced immediately.
6. Clean your bike’s disc rotors or rims
While you’re checking your brake pads, give them a gentle clean, too.
- If you have disc brakes, use some isopropyl alcohol on a clean rag to wipe the rotors. This removes oils and grease which cause that annoying high-pitched brake squeal.
- If you have rim brakes, wipe the wheel rims to remove the grey "sludge" that builds up, which will immediately improve your stopping power in the wet.
7. Gear maintenance: silence any clicking sounds
If your bike makes a clicking sound or hesitates slightly when you shift gears, this likely means that your gear cables have stretched out of alignment. Depending on your setup, here is how to handle it:
- Mechanical gears: Locate the barrel adjuster where the cable enters the rear derailleur. If the chain is struggling to shift up (towards the spokes), turn the adjuster anti-clockwise by unscrewing it out to increase tension. If it struggles to shift down, turn it clockwise to loosen it.
- Electronic Gears (SRAM AXS/Shimano Di2): If you have a high-end road bike or a mountain bike, you might have electronic gears. These can be indexed via "Micro Adjust" mode using the buttons on your shifters. It’s a clean, precise way to trim the derailleur position without touching a cable.
8. The seat post "anti-seize" trick
There’s nothing more distracting than an uncomfortable seat on a bike ride.
Over time, your seat can slip or become loose and wobble. It’s also common for water and road salt to seep into a frame, causing the seat post to "seize" or get stuck permanently. As part of your essential bike maintenance, loosen the seat post, pull it out, wipe it clean, and apply a thin layer of bicycle grease (or carbon assembly paste for carbon frames).
Re-insert it to the correct height and tighten. This five-minute job prevents a common mechanical nightmare that often requires specialist tools to fix.
9. Clean tyres and remove debris
While you might have given your tyres a cautionary once-over during the “M-Check”, now is the time to inspect them further and give them a clean.
Turn your bike upside down and spin the wheels, looking closely at the rubber. Pick out any small pieces of flint or glass embedded in the tread before they have a chance to work their way through to the inner tube. If you can see the "carcass" (the woven fabric) underneath the rubber, or if the tyre has a flat, "squared-off" profile, it is time to invest in a new pair of tyres.
If your tyres are heavily caked in mud or dusty from disuse, now is the time to brush off any sediment and wipe them over with a damp cloth.
10. Frame inspection & wash
Lastly, give the frame a wash using a sponge and soapy water. While you scrub gently, have a look at the condition of the frame itself. During a clean is the best time to spot hairline cracks, deep scratches, or signs of rust on steel components. Catching a small issue early is often the difference between a simple repair and needing a whole new frame.
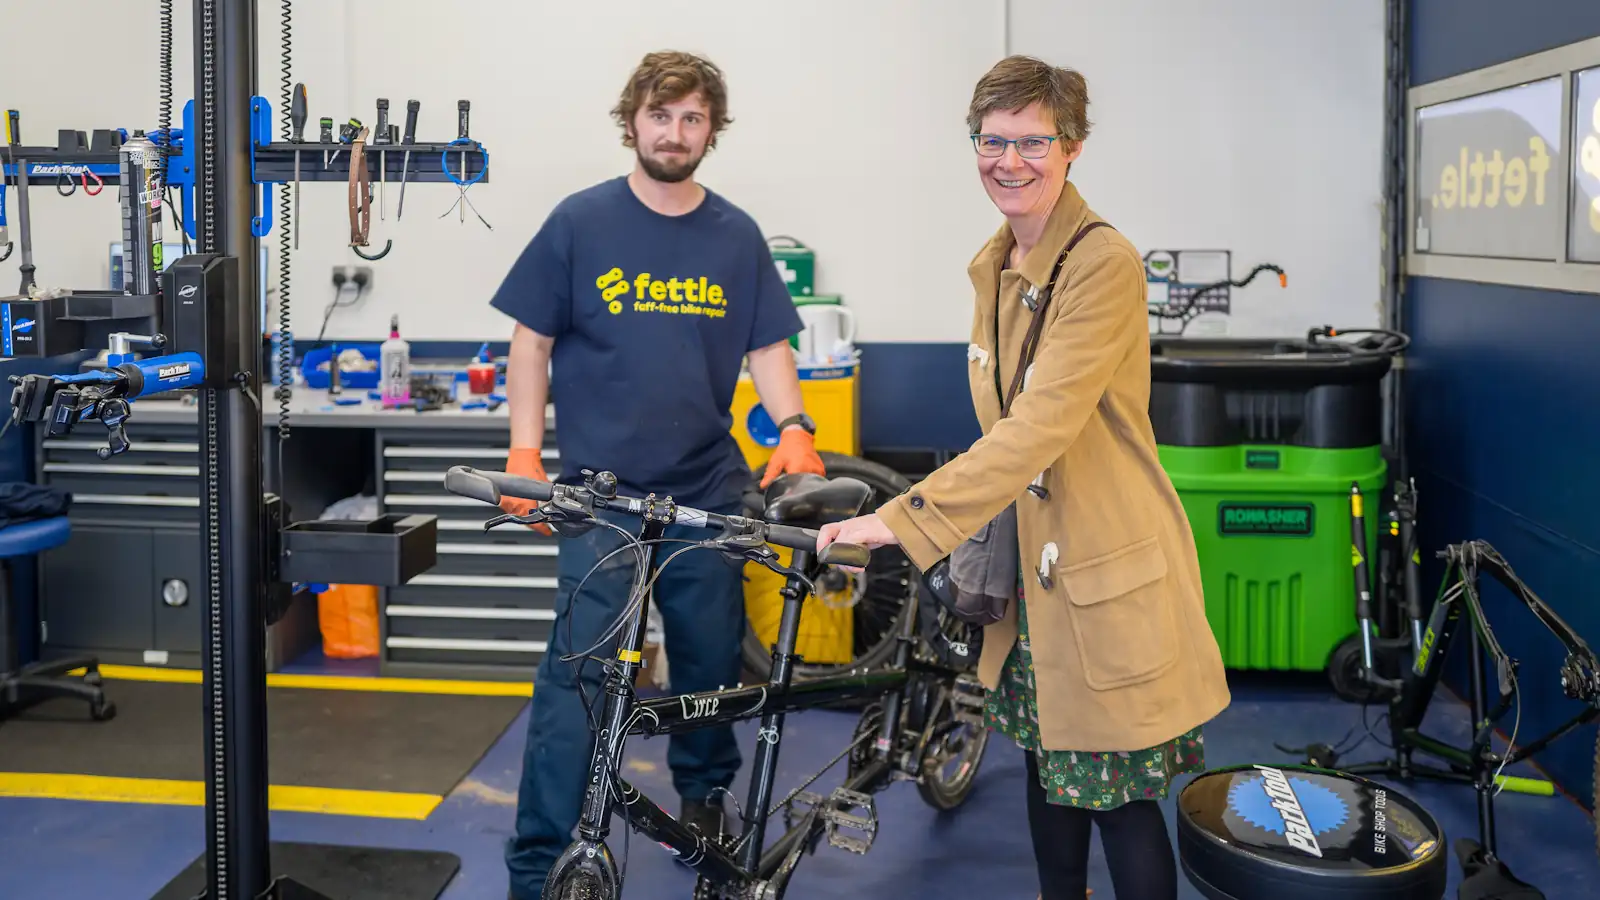
Keep your bike running smoothly, year-round
If you’ve run through this list and found an issue you aren't comfortable fixing yourself (like an issue with your chain or a dodgy brake lever), we can help.
Whether you drop your bike off at one of our workshops, or a selected Kwik Fit centre, our expert mechanics can repair the issue and have you back in the saddle in no time. Alternatively, if something feels off with your bike, bring it in for a Free Bike Assessment where we can help to diagnose the issue, and suggest the best course of action.
Any facts, figures and prices shown in our blog articles are correct at time of publication.
Featured Articles
The 10-Minute Check That Could Save Your Commute
Tuesday 24th February 2026

Most bike problems don’t happen suddenly. They build up quietly — until one morning your gears won’t shift, your tyre’s flat, or your brakes feel wrong halfway through traffic. The good news? A simple 10-minute check once a week can prevent most of it. If your bike is part of your daily routine, a quick once-over is the difference between riding confidently and walking home pushing it. Here’s what to look at.
How E-Bikes Are Making Cycling More Inclusive For Everyone
Tuesday 20th January 2026
Cycling used to come with assumptions. You had to be fit enough. Fast enough. Confident enough. Live close enough. For a long time, that quietly excluded a lot of people. E-bikes have changed that. Not by replacing traditional cycling, but by widening the door. They’ve made cycling more practical, more forgiving, and more realistic for everyday life — and that’s why they’re becoming such a permanent part of urban transport.